Review and post a settlement
Every settlement becomes one balanced journal entry. You review it and post it; the cost of goods then follows by rule.
Checked against the product on 2026-11-04
Step 1: Open the settlement
Go to Amazon settlements. The cards count settlements that are staged, drafted and posted, and event types that still need mapping. Open the one you want.
Step 2: Check that it foots
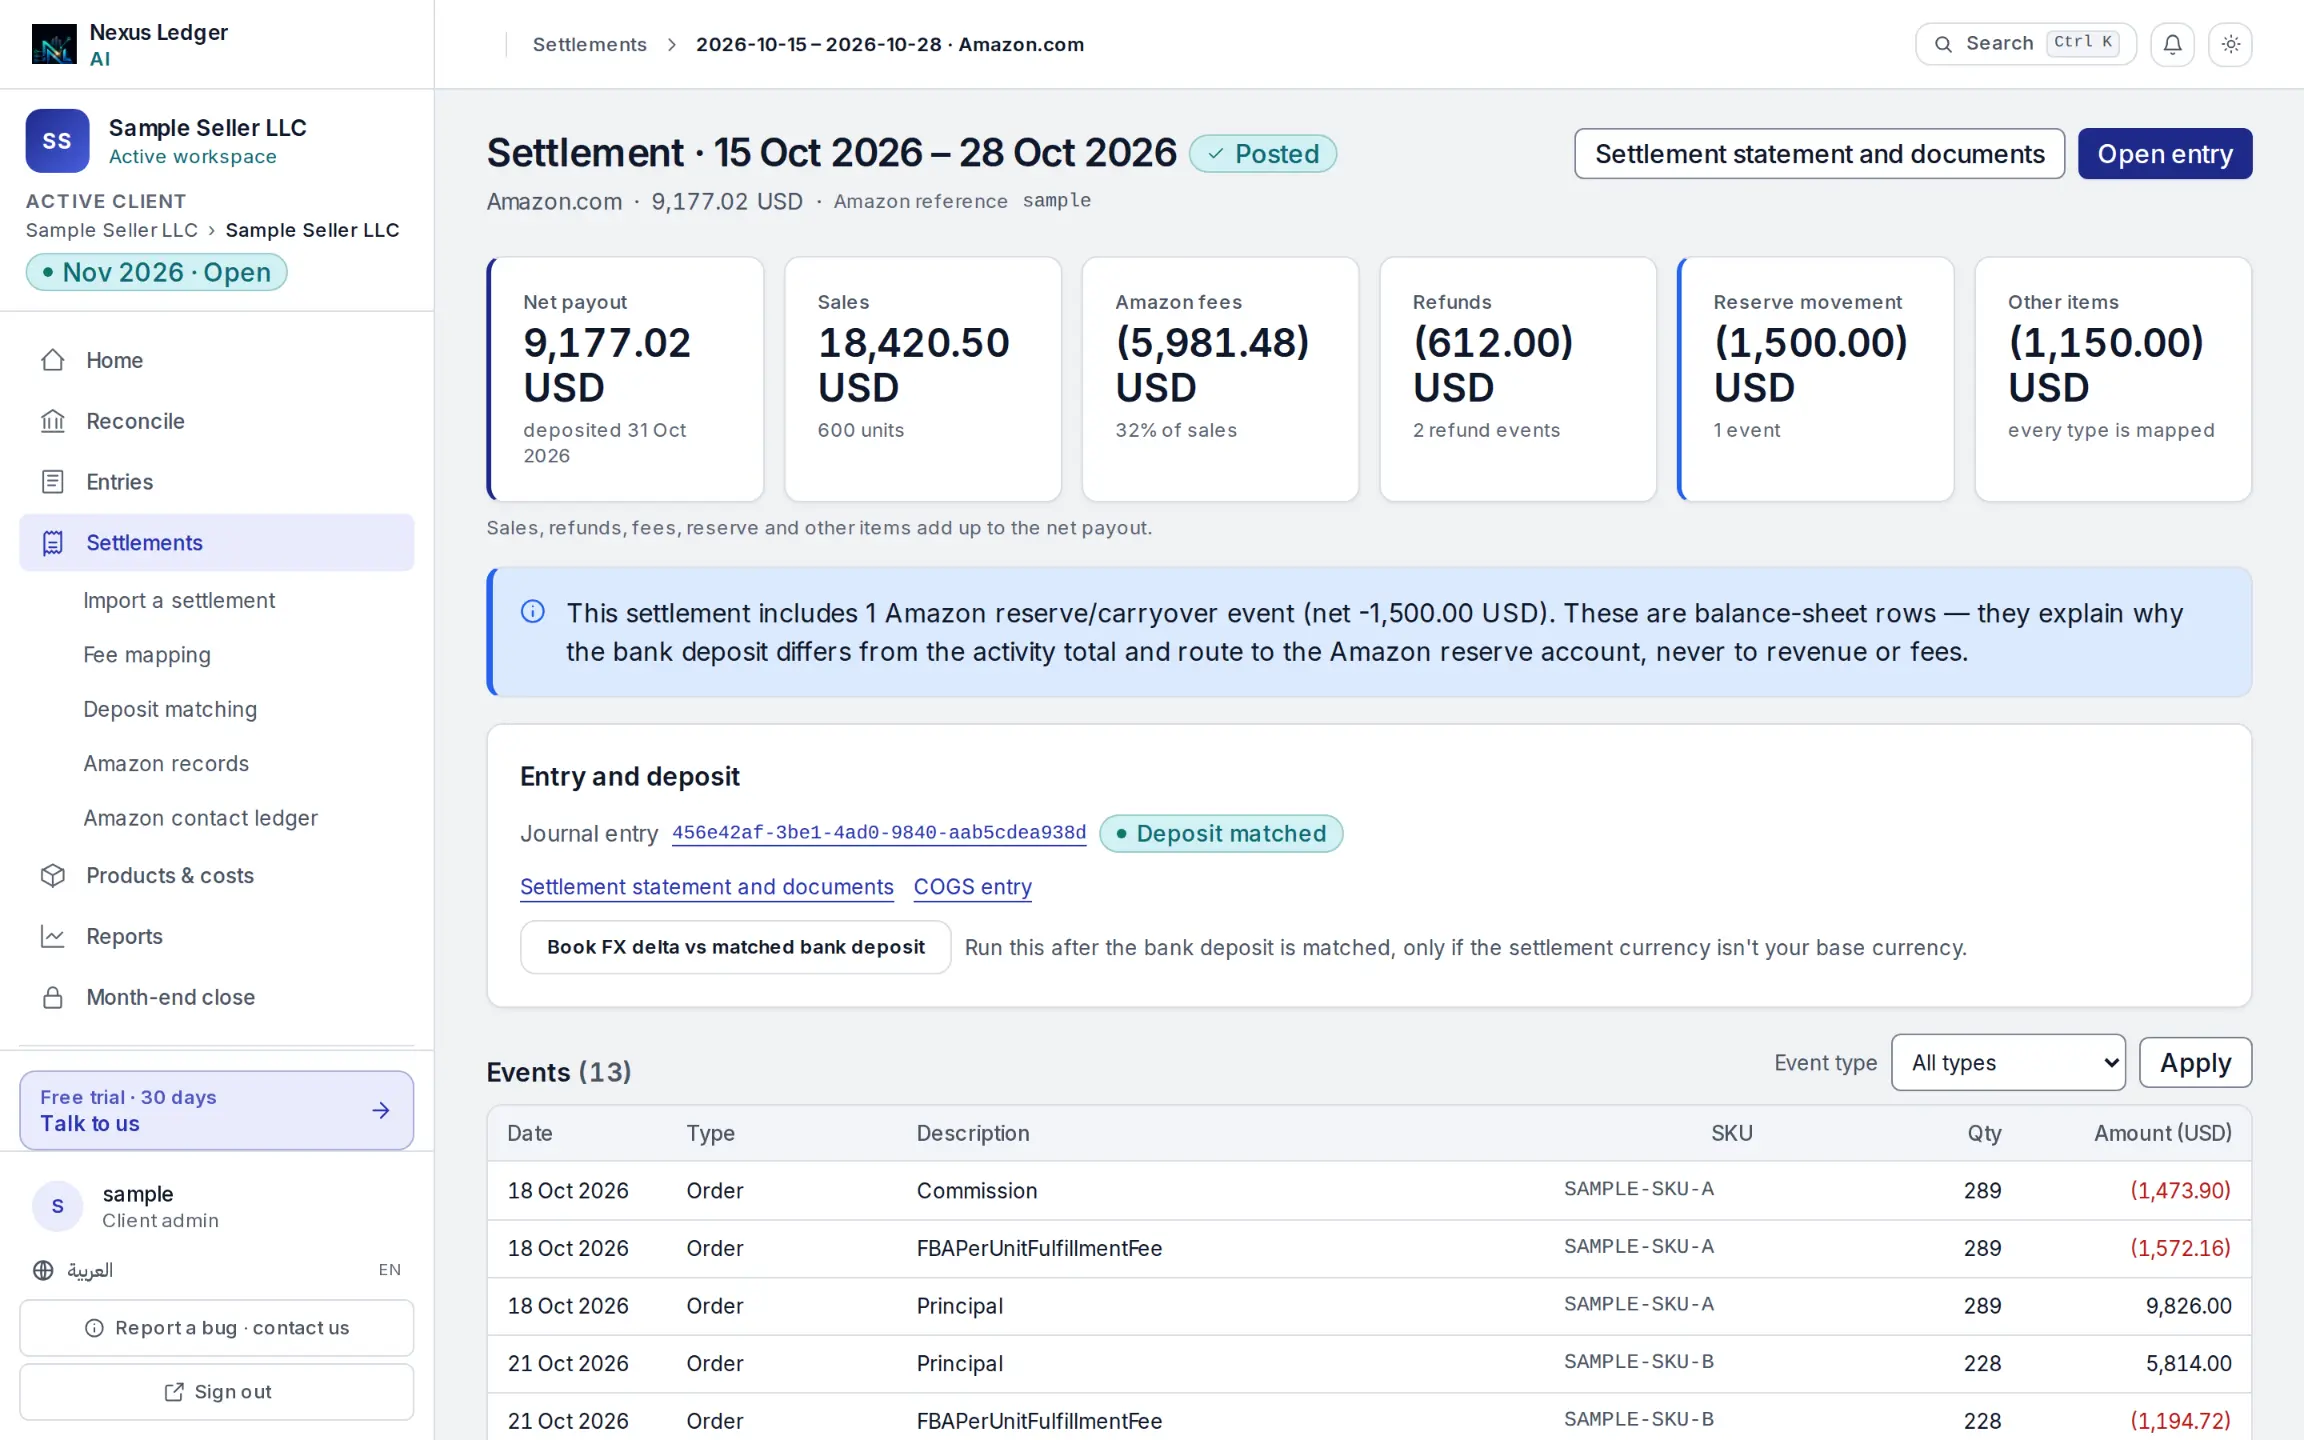
Sales, refunds, Amazon fees, reserve movement and other items add up to the net payout. If they do not, a banner shows the gap, and it is worth a look before you go on.
Sample data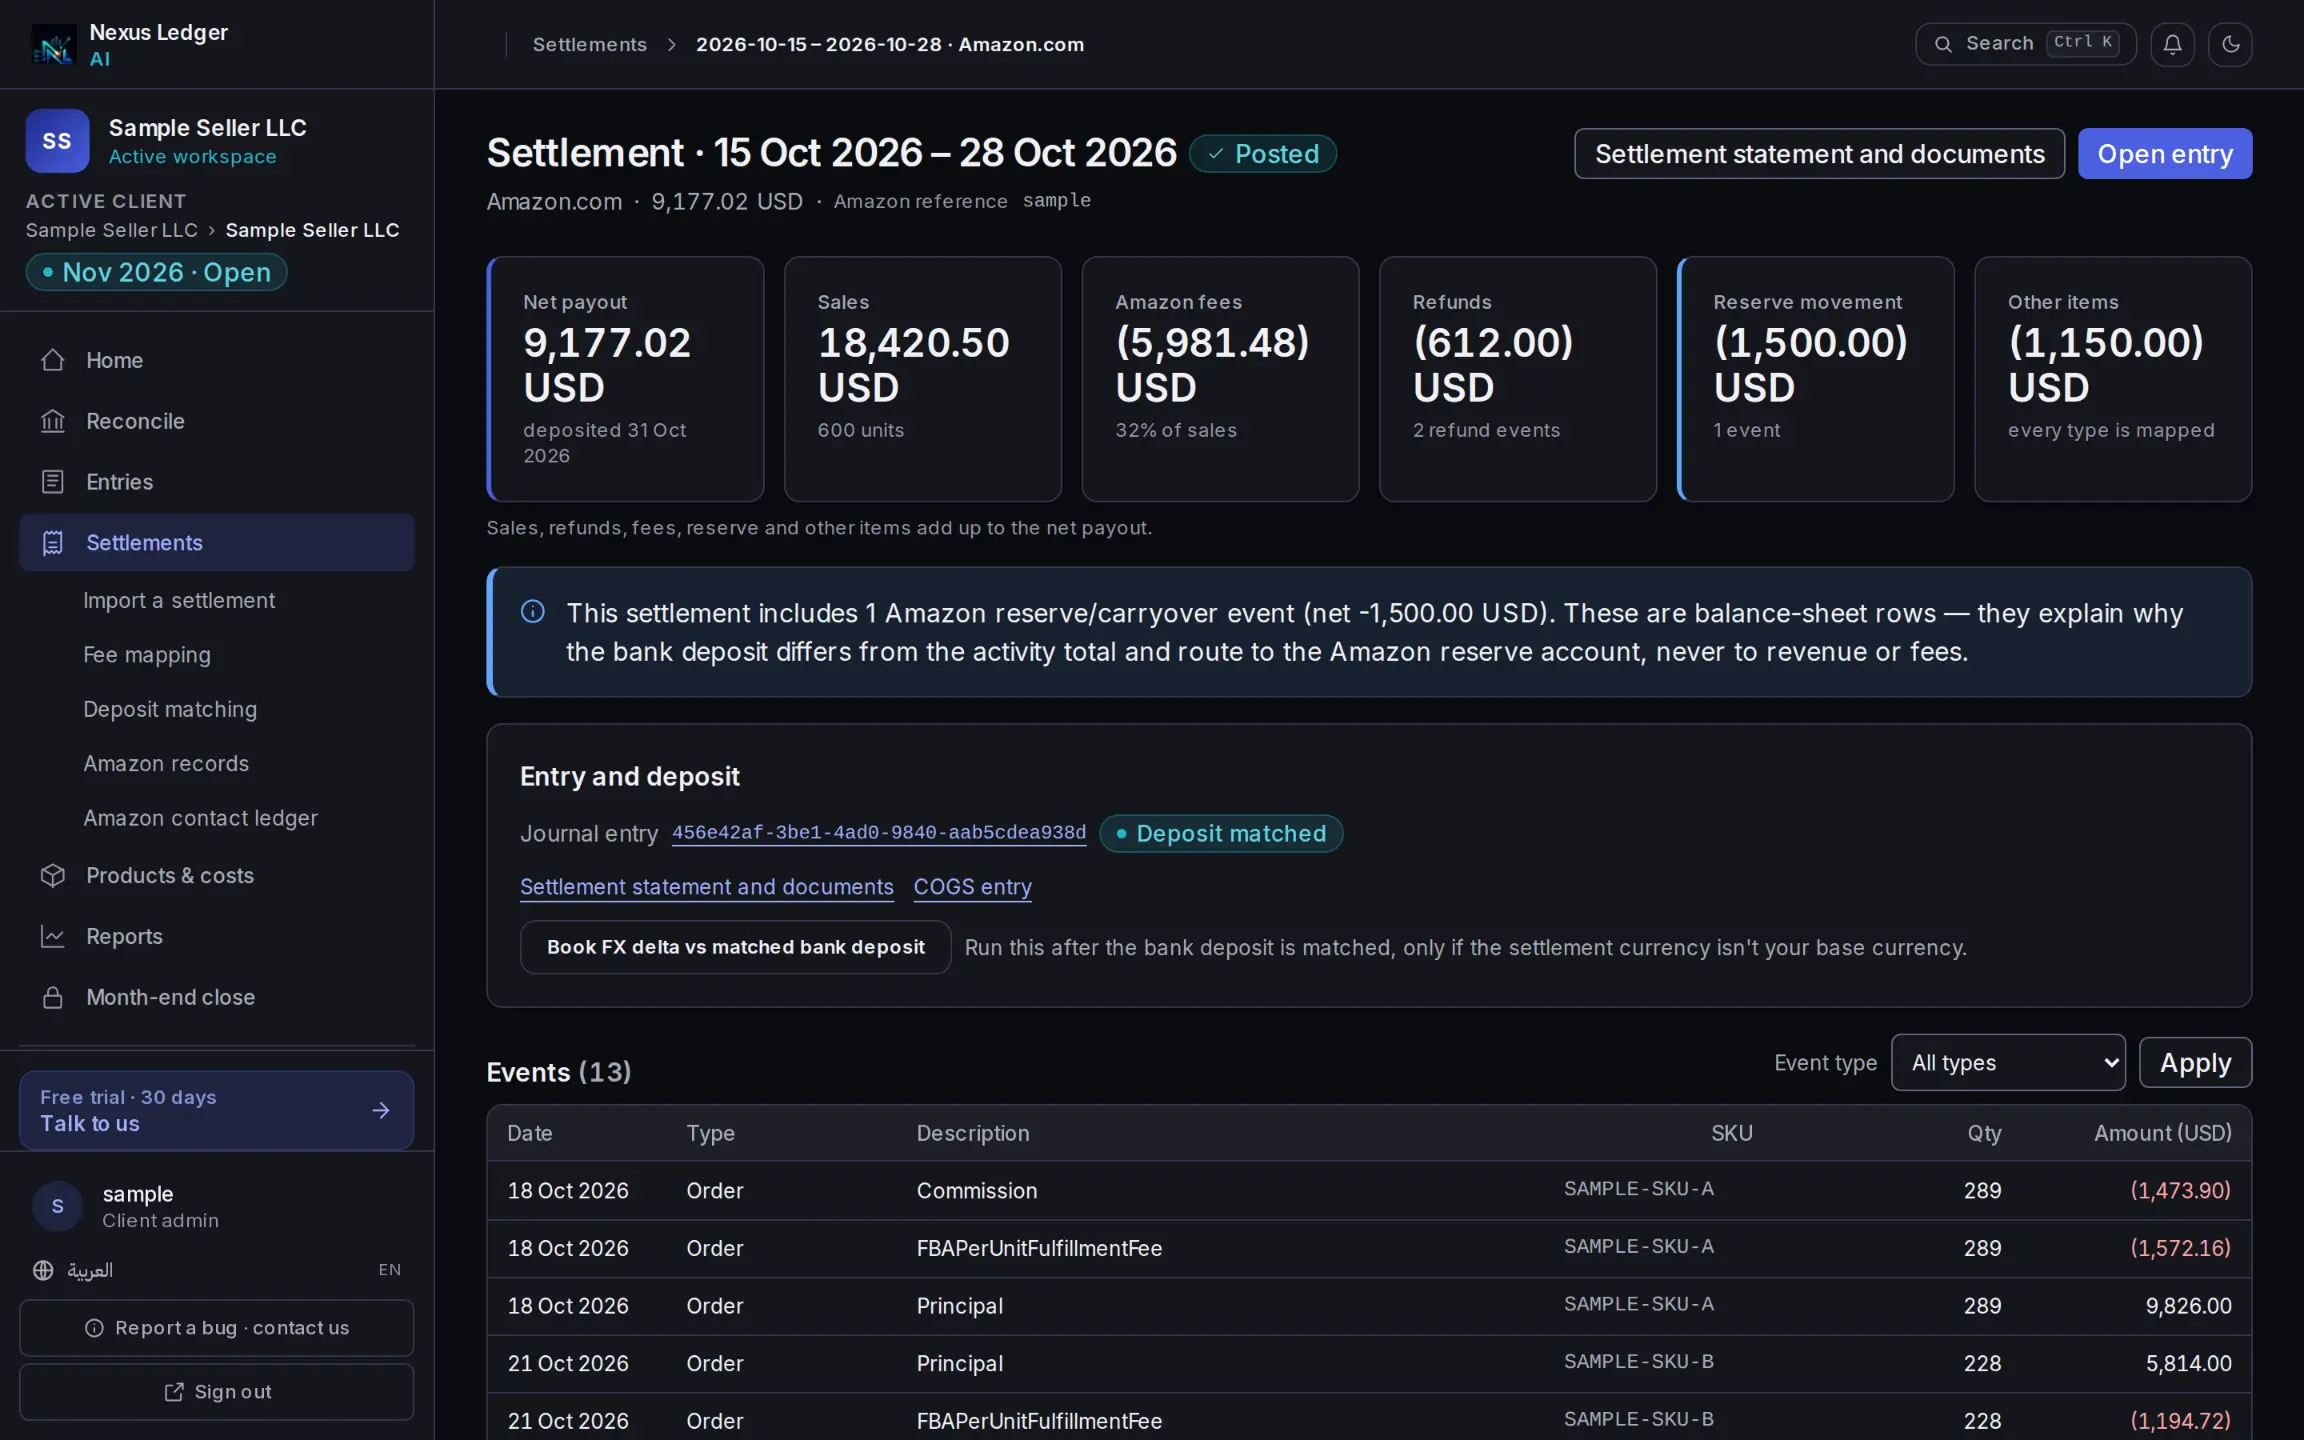
- Every settlement line adds up to the payout
- Drill from an entry line to the settlement line
The headline figures of a settlement, net payout first. Step 3: Map any new event types
An event type with no account yet is marked Needs mapping. Open the event mapping and choose an account for it before you post; otherwise it goes to Suspense, or posting is blocked.
Step 4: Compose the draft entry
If the settlement is staged, press Compose draft JE. Nexus adds up the events by account and creates a balanced draft. The database refuses any entry whose debits do not equal its credits.
Step 5: Review and post
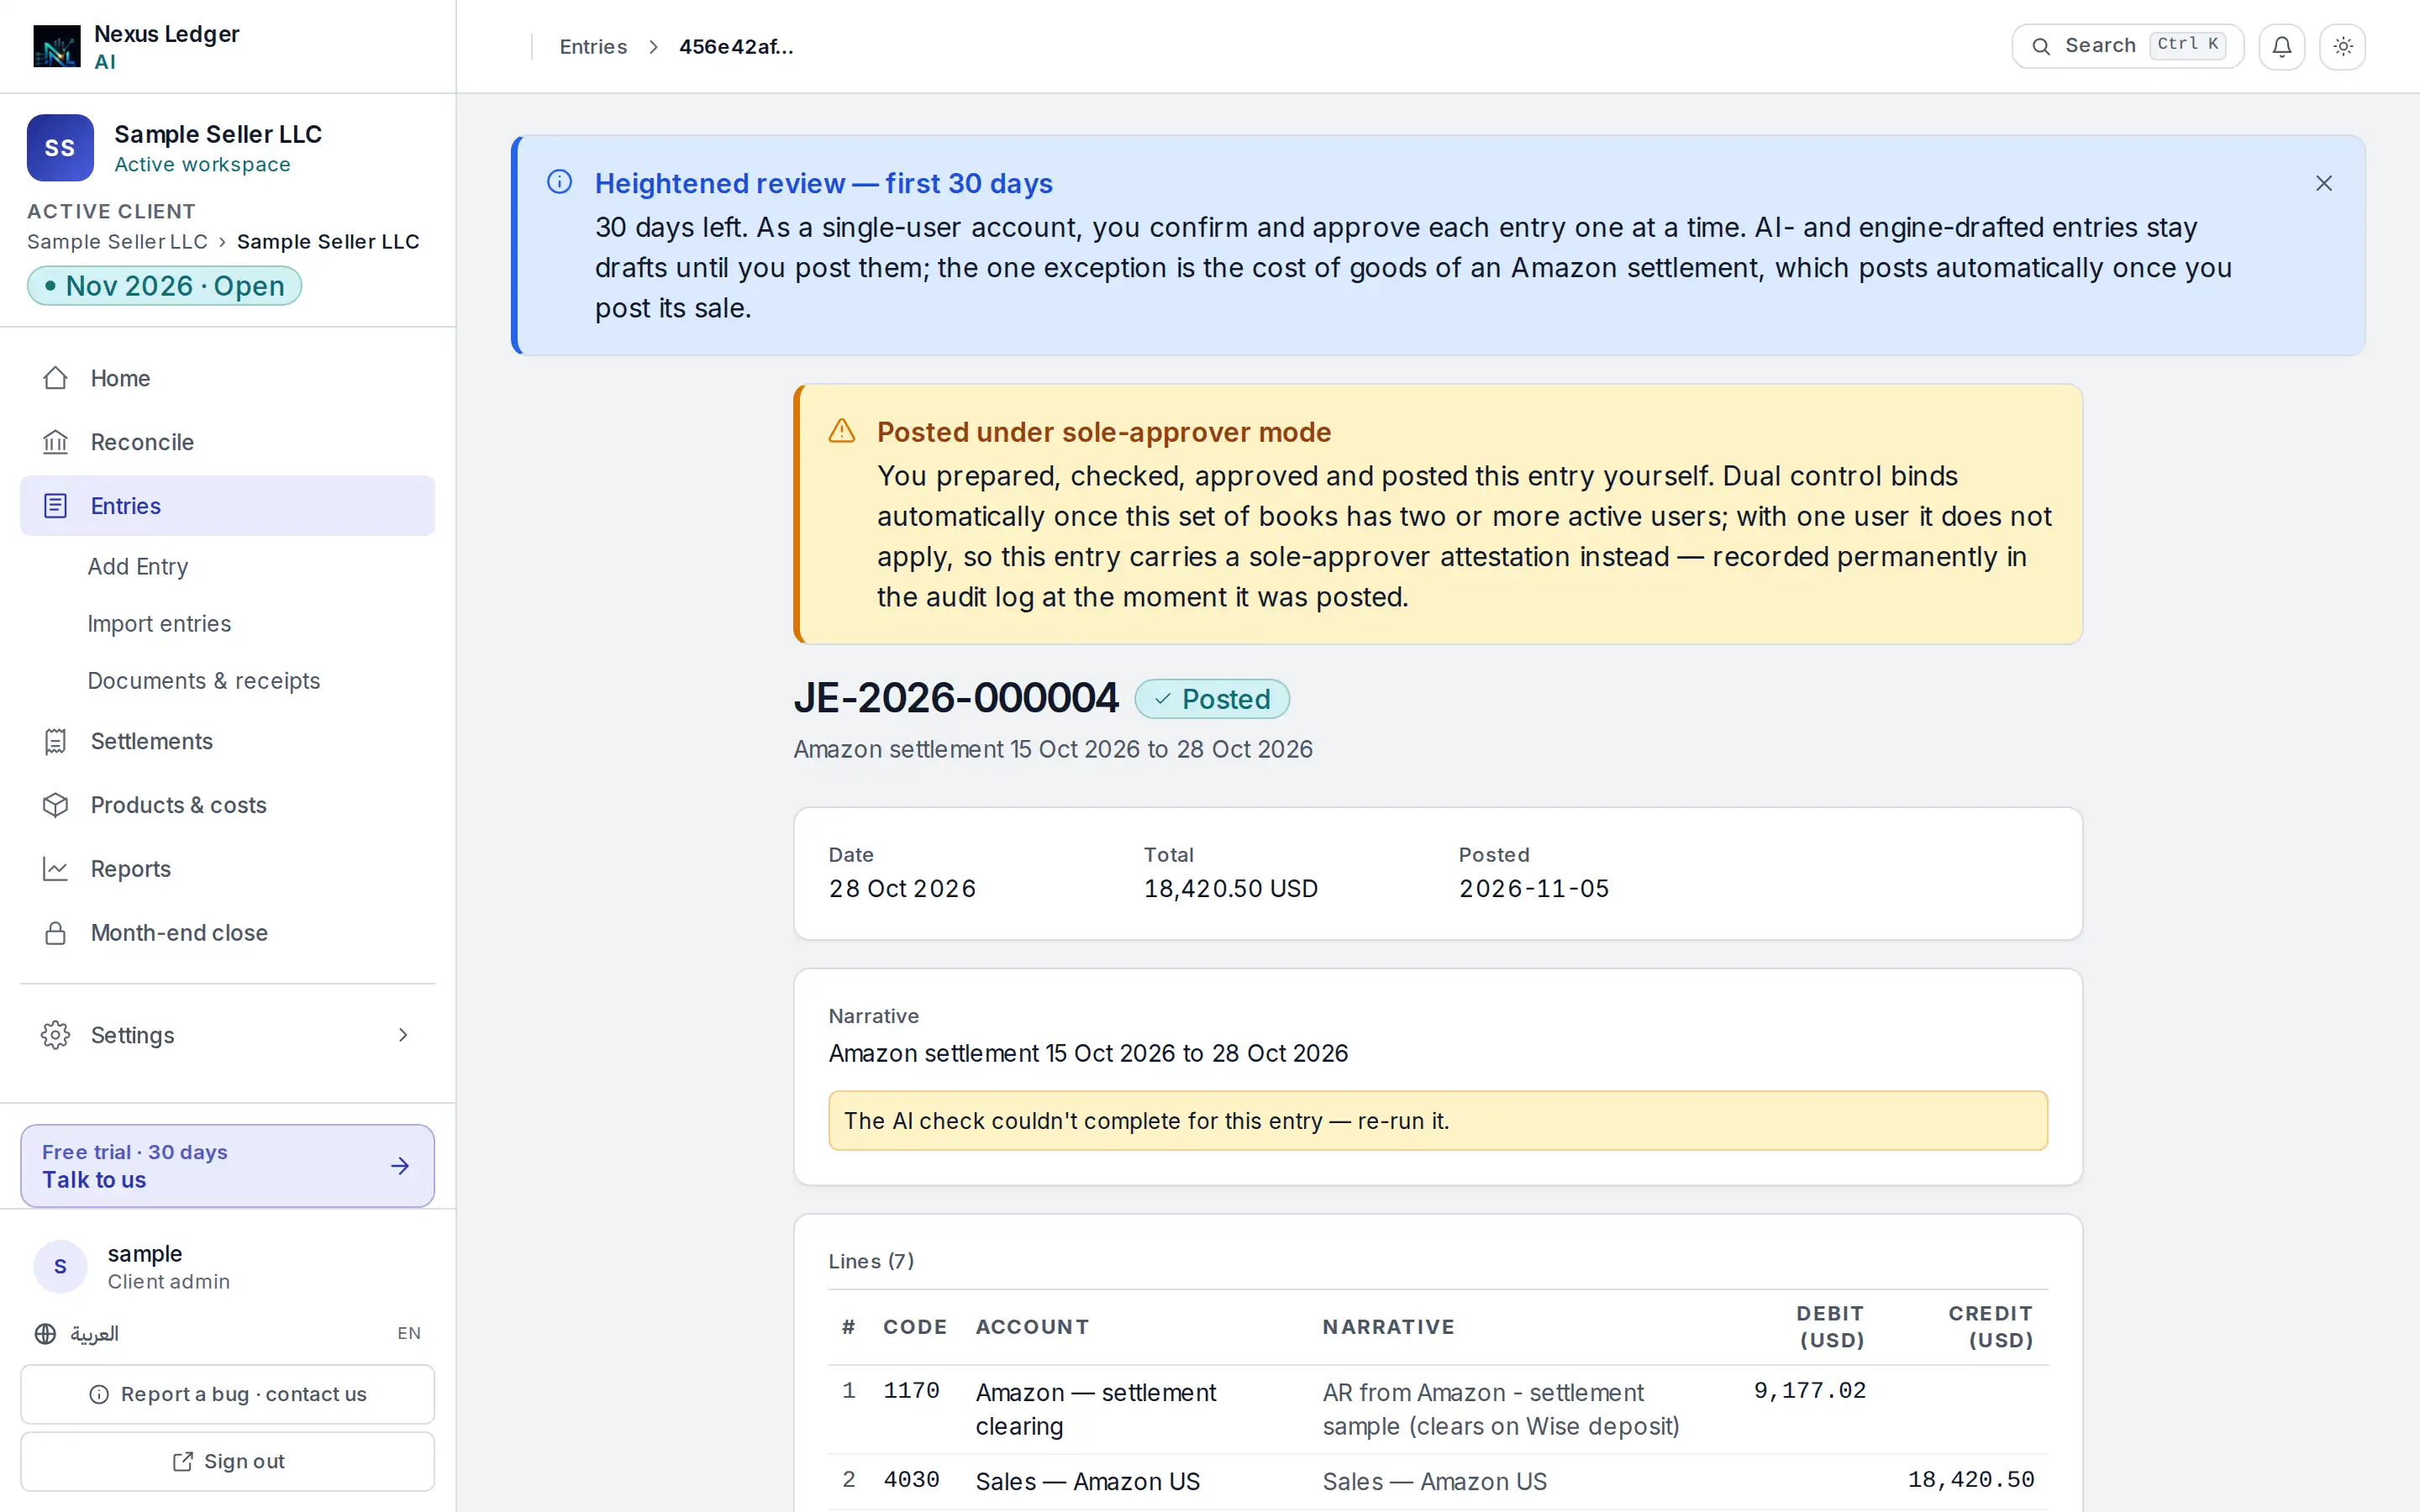
Open the entry from the Entry and deposit card and read its lines, then post it. A routine entry posts when you press the button; an unusual one asks you to type a confirmation phrase first. With two or more people on the books, someone other than the preparer must check and approve.
Sample data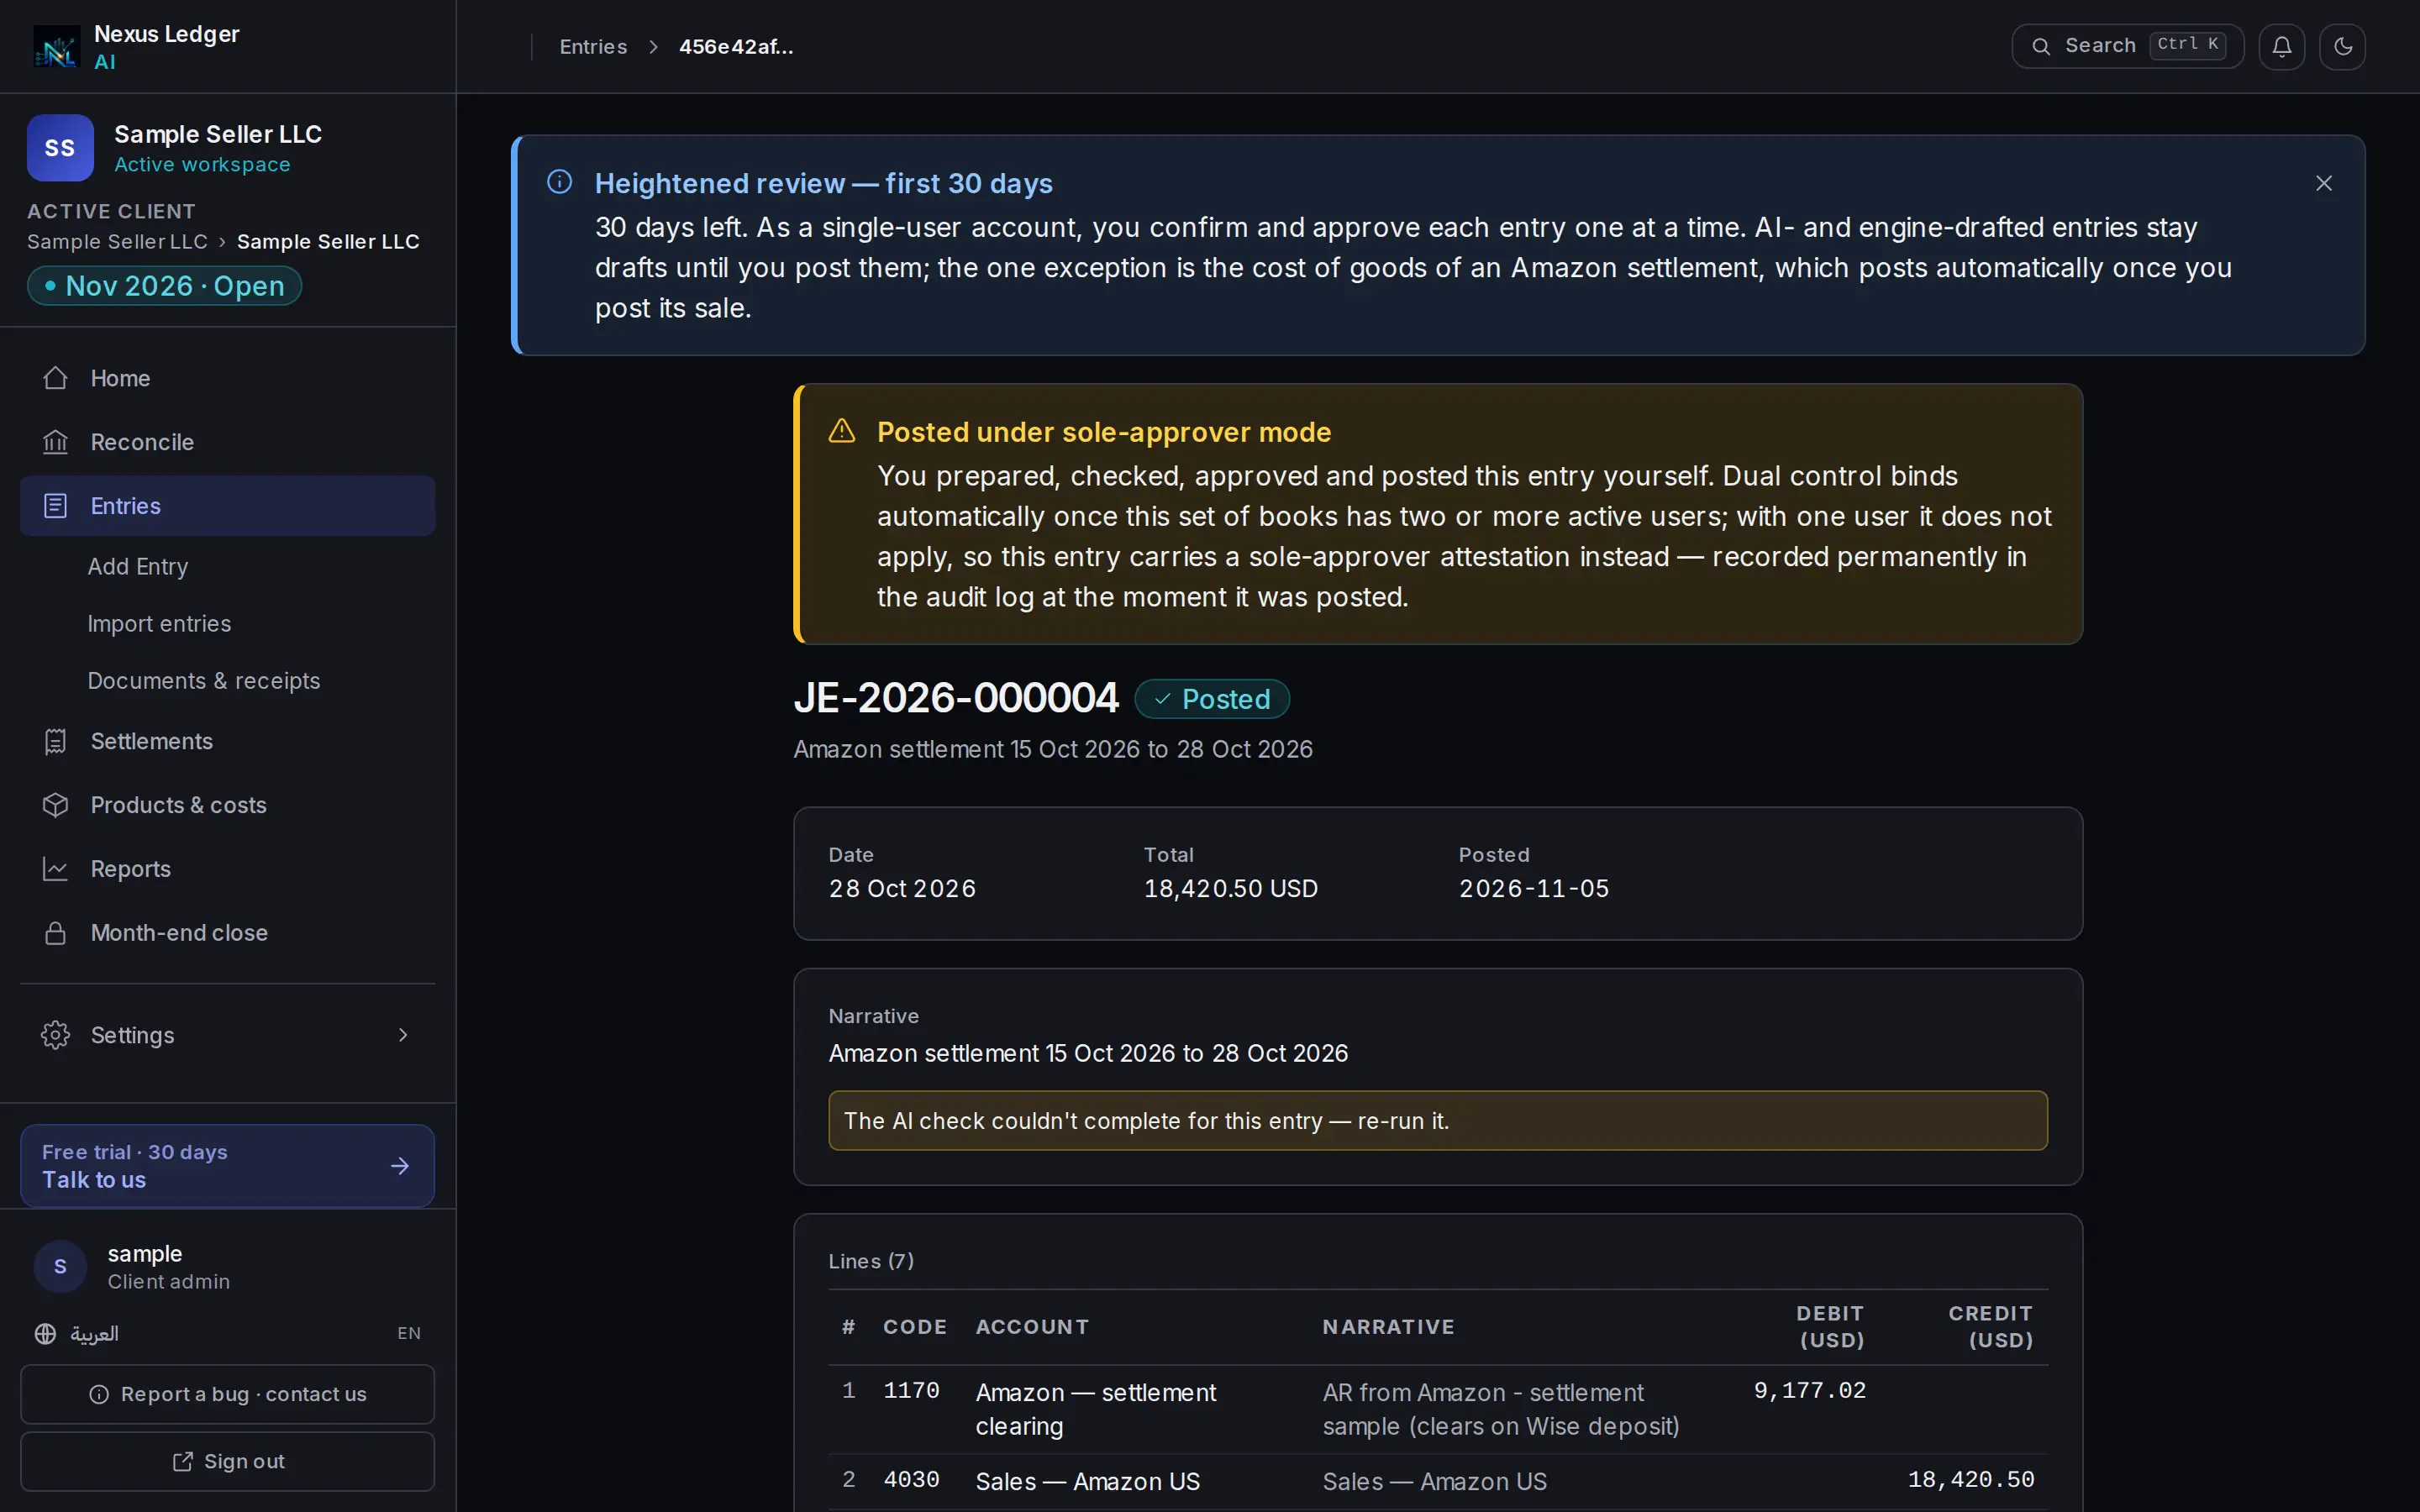
- Sole-approver attestation
- Link to the source
A posted journal entry and its settlement. Step 6: Cost of goods posts by rule
When you post a settlement's sales entry, its cost-of-goods entry posts by rule as soon as every check passes: units relieved equal units sold, nothing sits on Suspense and the period is open. This is on by default for a new book and can be switched off. The entry is marked Posted automatically, and the audit log records each check.
Step 7: If cost of goods is waiting
A banner reads Cost of goods is waiting on a SKU when a SKU cannot be costed: it matches no item, the item has no accounts, or no unit cost applies on the sale date. Fix the SKU; the sales entry stands and nothing needs undoing.
Step 8: Posted means locked
A posted entry cannot be edited. To correct one, reverse it: the reversal is a new entry linked to the original, and both stay visible.


